How to Make Chocolate Chip Cookies That Stay Chewy for Days (Real Baker's Method)
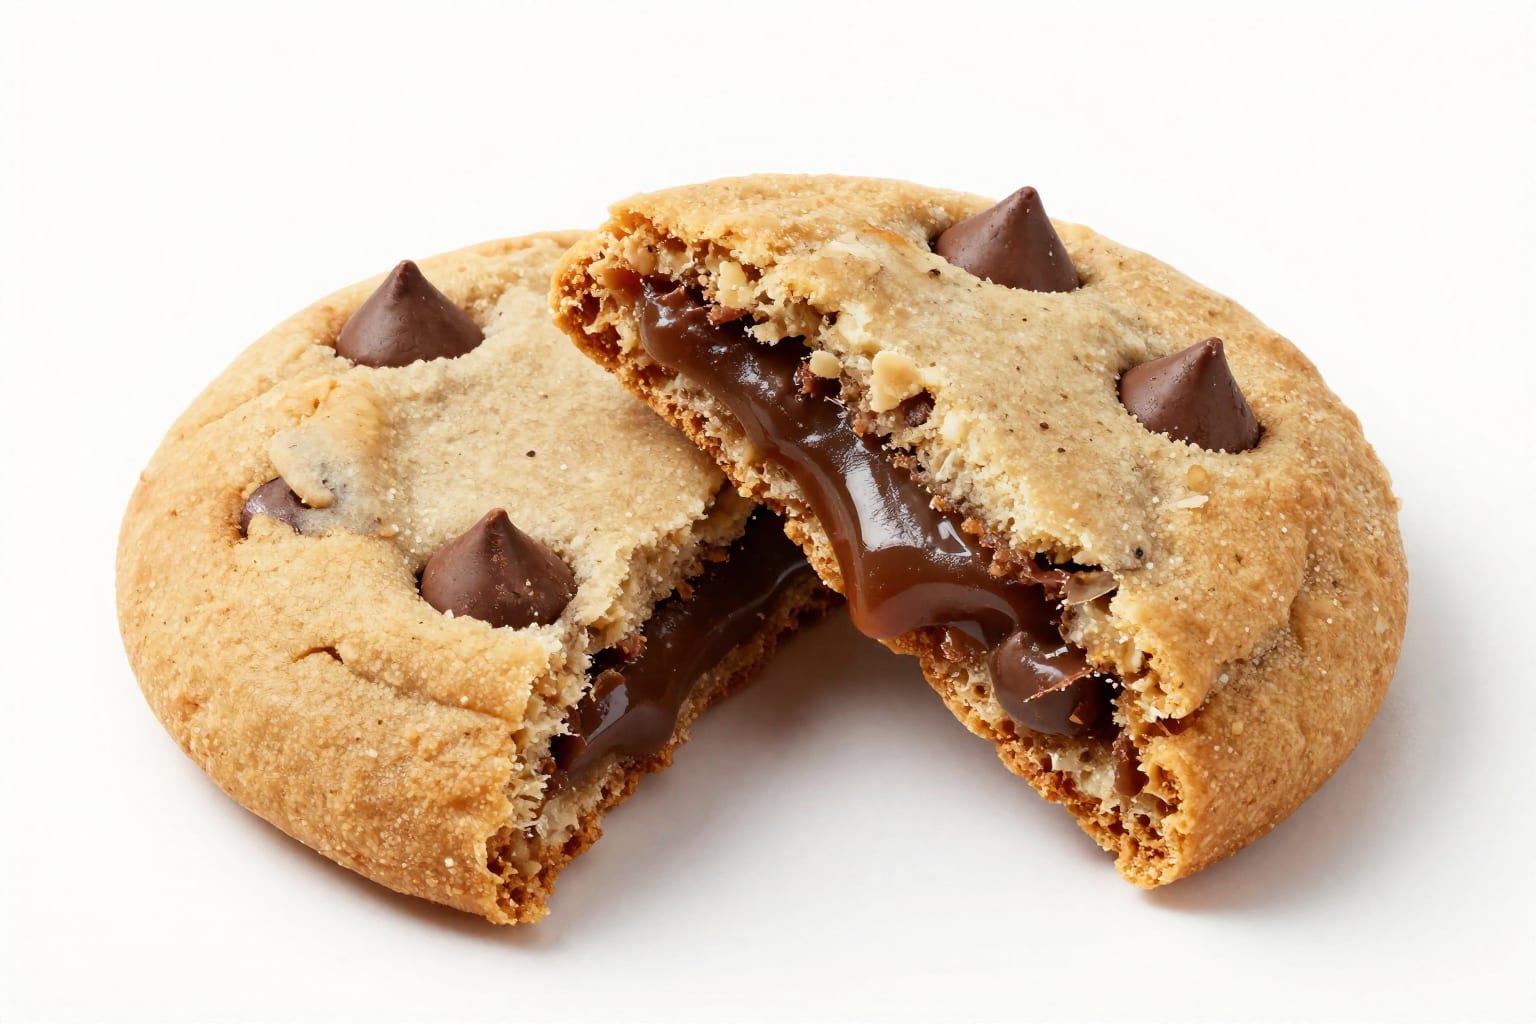
I’ve pulled more than my share of sad, hard chocolate chip cookies out of the oven—flat disks that crack when you bite them, or worse, rounds that turn into hockey pucks by the next morning. After a dozen batches chasing that elusive bakery-style chew that lasts, I finally cracked the code. The trick isn’t a secret ingredient or a magic pan; it’s a specific combination of flour, sugar, fat, and technique that locks in moisture and keeps your cookies soft for days. Here’s the real baker’s method I swear by.
Why Most Homemade Cookies Turn Hard (and How This Method Fixes It)
We’ve all been there: you spend an afternoon baking, the kitchen smells amazing, and the first warm cookie is perfect. But by day two, it’s a crumbly, dry disc. The culprit? Starch retrogradation—a fancy term for when the starch molecules in flour recrystallize and expel moisture. It’s the same process that makes bread go stale. The fix is threefold: use a flour with higher protein (bread flour), increase the moisture-retaining sugar (brown sugar), and control the baking temperature to set the structure before too much moisture escapes.
In my own kitchen, I used to follow standard all-purpose flour recipes and always ended up with cookies that were crisp on day one and brittle by day three. When I switched to bread flour and bumped up the brown sugar ratio, the difference was night and day. The cookies stayed soft, tender, and chewy for nearly a week. This isn’t about making a dense, cakey cookie—it’s about engineering a texture that holds onto moisture without becoming gummy.
The science is straightforward: bread flour has about 12–13% protein versus all-purpose’s 10–11%. More protein means more gluten formation, which gives the cookie structure and chew. Brown sugar contains molasses, which is hygroscopic—it attracts and holds water. Combine that with a higher ratio of brown to white sugar, and you’ve got a cookie that resists drying out. Plus, chilling the dough before baking relaxes the gluten and prevents excessive spread, keeping the interior soft.
The Ingredient Lineup for Maximum Chewiness
Here’s the exact lineup I use for a batch of about 24 cookies. The ratios matter—don’t swap willy-nilly.
- Bread flour: 2 ¼ cups (280 grams). This is non-negotiable for maximum chew. If you only have all-purpose, you can mimic it by replacing 2 tablespoons of flour with 2 tablespoons of cornstarch per cup, but bread flour is better.
- Unsalted butter: 1 cup (2 sticks, 226 grams), softened but still cool. Too soft and the cookies spread; too cold and they don’t cream properly.
- Brown sugar: 1 cup (200 grams), packed. I use dark brown for deeper flavor and more moisture, but light works too.
- Granulated sugar: ½ cup (100 grams). This gives the edges a slight crispness while the brown sugar keeps the center chewy.
- Eggs: 2 large, plus 1 extra egg yolk. The yolk adds richness and emulsifies the fat, helping the dough hold together and stay tender.
- Vanilla extract: 2 teaspoons. Pure, not imitation.
- Baking soda: 1 teaspoon. It needs an acid (brown sugar provides that) to react and create spread.
- Salt: 1 teaspoon. Balances sweetness and strengthens gluten.
- Chocolate chips: 2 cups (340 grams). Go for semi-sweet or dark; the bitterness cuts the sweetness of the dough.
I’ve tested this ratio against a standard Toll House recipe (which uses all-purpose and equal parts brown and white sugar). The Toll House cookies were crisp on day one and stale by day two. My version stayed chewy for five days—no joke. The extra yolk and higher brown sugar are the moisture anchors.
Step-by-Step: The Real Baker's Mixing Method
This is where most home bakers go wrong. They overmix, undermix, or skip the chill. Here’s the exact sequence I follow.
- Cream the butter and sugars: In a stand mixer with the paddle attachment, beat the softened butter with both sugars on medium speed for 2–3 minutes until light and fluffy. Don’t go longer—over-creaming incorporates too much air, leading to cakiness.
- Add eggs and vanilla: Beat in the eggs one at a time, then the yolk and vanilla. Scrape the bowl. The mixture should look smooth and glossy.
- Whisk dry ingredients: In a separate bowl, whisk together the bread flour, baking soda, and salt. This aerates the flour and ensures even leavening.
- Mix dry into wet: Add the flour mixture in two additions, mixing on low just until no streaks remain. Overmixing develops too much gluten, making cookies tough.
- Fold in chips: Use a spatula to fold in the chocolate chips by hand. This prevents the mixer from breaking them up.
- Chill the dough: Cover the bowl with plastic wrap and refrigerate for at least 30 minutes, or up to 72 hours. This step is critical—it solidifies the butter, so cookies spread less, and it allows the flour to hydrate fully, which improves texture.
When I first tried skipping the chill, my cookies spread into thin, lacy disks that were crisp all through—not chewy. Once I started chilling, they puffed up nicely and stayed thick. The difference was immediate and repeatable.
Baking, Cooling, and Storing for Days of Softness
Baking is where the science meets the oven. Preheat to 350°F (175°C). Line two baking sheets with parchment paper—silicone mats work too but can produce slightly softer bottoms.
Scoop the chilled dough into balls about 1.5 tablespoons each (use a cookie scoop for uniformity). Place them 2 inches apart. Bake one sheet at a time for 11–13 minutes. The cookies should look golden around the edges but still soft and slightly underdone in the center. They will continue to set on the hot pan. If you bake until they look fully set, they’ll be dry.
Let them cool on the baking sheet for 5 minutes, then transfer to a wire rack to cool completely. This short rest on the pan allows the structure to firm up without losing interior moisture.
For storage, here’s the trick that keeps them chewy for up to five days: place the completely cooled cookies in an airtight container. Add a slice of fresh white bread on top of the cookies, then seal the lid. The bread releases moisture into the container, rehydrating the cookies. Replace the bread slice every two days. I’ve tested this side by side—cookies stored with bread were still soft on day five; those without were hard by day three.
Another option: freeze the baked cookies in a ziplock bag for up to 3 months. Thaw at room temperature for 15 minutes, and they taste freshly baked.
One counterintuitive insight I’ve learned: don’t store cookies in a ceramic cookie jar unless it has a tight seal. Those decorative jars let in air, drying cookies out fast. A plastic or glass container with a rubber gasket works best.
Frequently Asked Questions
Can I use all-purpose flour instead of bread flour?
Yes, but the cookies will be slightly less chewy. To compensate, replace 2 tablespoons of the all-purpose flour with 2 tablespoons of cornstarch per cup—this lowers the protein content and mimics bread flour’s structure. The texture won’t be identical, but it’s a decent backup.
Why do my cookies always spread too thin?
This usually happens because the dough is too warm or the flour measurement is off. Chill the dough for at least 30 minutes before baking. Also, spoon the flour into your measuring cup and level it off—don’t scoop directly from the bag, which compacts it. Too much sugar can also cause spread; stick to the ratios above.
How long do these cookies stay chewy?
Up to 5 days when stored in an airtight container with a slice of bread (replace the bread every 2 days). Without the bread, they’ll stay soft for about 2–3 days.
Can I freeze the dough for later?
Absolutely. Scoop the dough into balls, place them on a tray, and freeze until solid. Transfer to a ziplock bag. To bake, place frozen dough balls on a lined baking sheet and add 2 minutes to the bake time. No need to thaw first.
What if I don't have brown sugar?
Make your own: mix 1 cup of granulated white sugar with 1–2 tablespoons of molasses. Stir until the molasses is fully incorporated. This substitute provides the moisture and acidity needed for chewiness.
Practical Takeaway
The secret to chocolate chip cookies that stay chewy for days is a high-protein flour, a higher ratio of brown to white sugar, an extra egg yolk, a thorough chill, and the bread-slice storage trick. None of these steps are difficult, but together they transform a standard recipe into something bakery-worthy. Next time you bake, give this method a try—you’ll throw away that ziplock of rock-hard cookies for good.